 Save
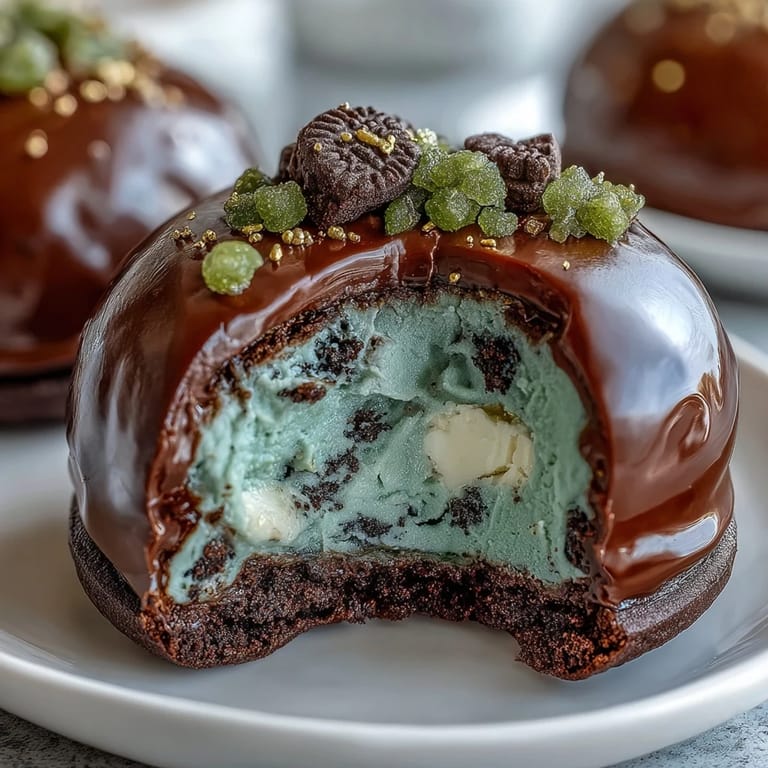
Save My neighbor showed up at my door three days before St. Patrick's Day with a box of regular Oreos and this wild idea about turning them into emerald truffles. I laughed—until she described the creamy, chocolatey centers wrapped in that vibrant green coating. By that afternoon, my kitchen smelled like melted white chocolate and possibility, and I understood why she'd been so excited.
I made these for a potluck where nobody expected anything green or appetizing, and watching people's faces light up when they bit into that soft center was honestly better than any compliment. They're the kind of dessert that makes you feel like you've done something special, even though the hardest part is remembering not to eat half of them while you're dipping.
Ingredients
- 36 Oreo cookies (regular, not Double Stuf): The regular ones have the perfect ratio of filling to cookie, and they disappear completely into the cream cheese when you pulse them, leaving no chunks to betray the shortcut.
- 8 oz (225 g) cream cheese, softened: Cold cream cheese will fight you during mixing, so take it out of the fridge at least 30 minutes before you start—this small move saves frustration.
- 12 oz (340 g) white chocolate or white candy melts: Candy melts are genuinely easier to work with because they won't seize up, but white chocolate tastes noticeably better if you're patient with oil-based coloring.
- Green gel or oil-based food coloring: This is non-negotiable—regular liquid food coloring will make your chocolate grainy and separated, a mistake I made once and learned from immediately.
- Green sprinkles, edible glitter, or gold sugar (optional): These decorations matter more than you'd think because they catch the light and make the truffles feel like tiny celebrations.
Tired of Takeout? 🥡
Get 10 meals you can make faster than delivery arrives. Seriously.
One email. No spam. Unsubscribe anytime.
Instructions
- Prep your space:
- Line a baking sheet with parchment paper so nothing sticks and cleanup feels effortless later.
- Crush the cookies:
- Pulse the Oreos in a food processor until they're fine crumbs—you're looking for the texture of wet sand, not powder. This usually takes about 20 to 30 pulses depending on your processor's power.
- Bring the mixture together:
- Add your softened cream cheese and blend until the mixture is completely smooth and holds together when you squeeze it. Stop as soon as it comes together or you'll overwork it.
- Roll the truffles:
- Scoop heaping tablespoons of the mixture and roll them between your palms into 1-inch balls, then place each one on the parchment-lined sheet. Your hands will get a little messy, but that's part of the charm.
- Chill until firm:
- Pop the baking sheet into the freezer for at least 45 minutes—this matters because warm truffles will fall apart when you dip them. I learned this the hard way.
- Melt and color your chocolate:
- Melt the white chocolate or candy melts in a microwave-safe bowl using 30-second intervals with stirring between each one to prevent scorching. Once it's smooth, add your green food coloring a tiny drop at a time, mixing until you've got that perfect St. Patrick's Day shade.
- Dip with intention:
- Using a fork or dipping tool, gently lower each frozen truffle into the green chocolate, let the excess drip off for a second or two, then place it back on the parchment. Work quickly because the chocolate sets faster than you expect.
- Decorate immediately:
- If you're using sprinkles or edible glitter, add them right after dipping while the chocolate is still sticky enough to hold them.
- Let it set:
- Leave the finished truffles at room temperature for 15 to 20 minutes, or stick them back in the refrigerator if you're in a hurry. Either way, don't touch them until the coating is completely firm.
- Store properly:
- Keep them in an airtight container in the refrigerator, and they'll stay perfect for about a week, though they never last that long.
 Save
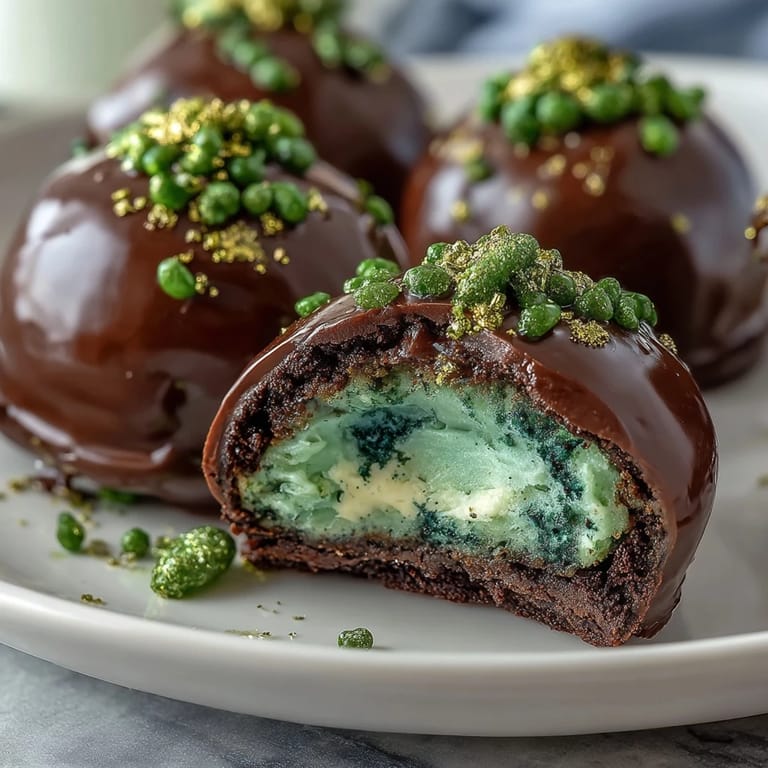
Save My eight-year-old nephew declared these his favorite thing I've ever made, then asked if I could turn regular Oreo truffles into a year-round thing. That's when I realized these little green balls had crossed from festive treat into something people actually wanted to eat again and again.
The Mint Upgrade (If You're Feeling Adventurous)
If regular Oreos feel a little predictable, grab a box of mint-flavored Oreos or stir ¼ teaspoon of mint extract into your cream cheese mixture before rolling. The mint transforms these from simple holiday treats into something with real personality—cooler, fresher, more interesting. I've made both versions at the same party, and the mint ones disappeared first every single time.
Chocolate Chemistry and Why It Matters
The difference between candy melts and white chocolate comes down to cocoa butter versus palm oil, which sounds boring until you taste it. Candy melts are forgiving and easy to color, while real white chocolate is temperamental but tastes legitimately better. Choose candy melts if you want stress-free results, but if you love the taste of quality chocolate, the extra care is worth it—just use oil-based coloring and melt slowly to avoid seizing.
Timing, Storage, and Serving Wisdom
These truffles actually taste best when they've had a few hours to settle in the refrigerator because the flavors merge and the texture becomes silkier. They're perfect for potlucks, gift boxes, or random afternoons when you want something special without the fuss. Make them the night before your event and you'll have one less thing to worry about.
- Keep them refrigerated in an airtight container so the chocolate coating doesn't get dull and the filling stays creamy.
- If they start to soften at room temperature, pop them back in the fridge for 10 minutes—they'll firm right back up.
- These freeze beautifully for up to a month, so you can make a batch early and serve them weeks later when inspiration strikes.
 Save
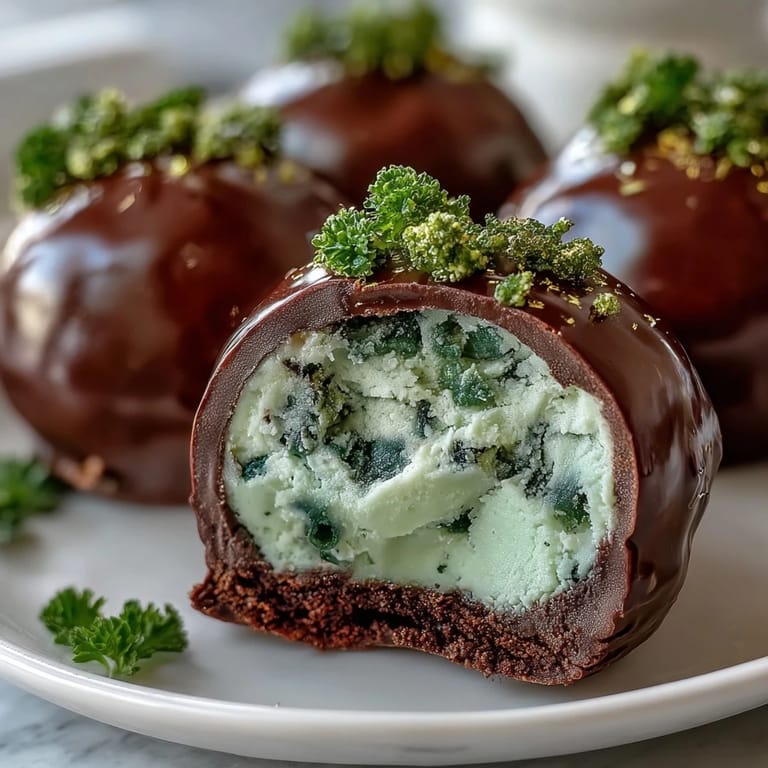
Save There's something deeply satisfying about handing someone a box of homemade truffles, especially when they're this beautiful and this easy. They're proof that the best desserts don't require stress—just a little planning and chocolate-covered joy.
Recipe FAQs
- → Can I use Double Stuf Oreos for the truffles?
While regular Oreos are recommended for the right texture, Double Stuf can be used but may result in a softer filling.
- → How do I prevent the white chocolate from seizing when adding green food coloring?
Use oil-based or gel food coloring to avoid seizing. Avoid water-based colors when mixing with white chocolate.
- → What is the best way to store these truffle balls?
Store them in an airtight container in the refrigerator to keep them firm and fresh for several days.
- → Can I add flavor variations to the truffles?
Yes, adding mint extract or using mint-flavored Oreos adds a refreshing twist to the classic flavor.
- → Are these truffle balls suitable for vegetarians?
Yes, the ingredients used are vegetarian-friendly, but always check specific product labels for assurance.