 Save
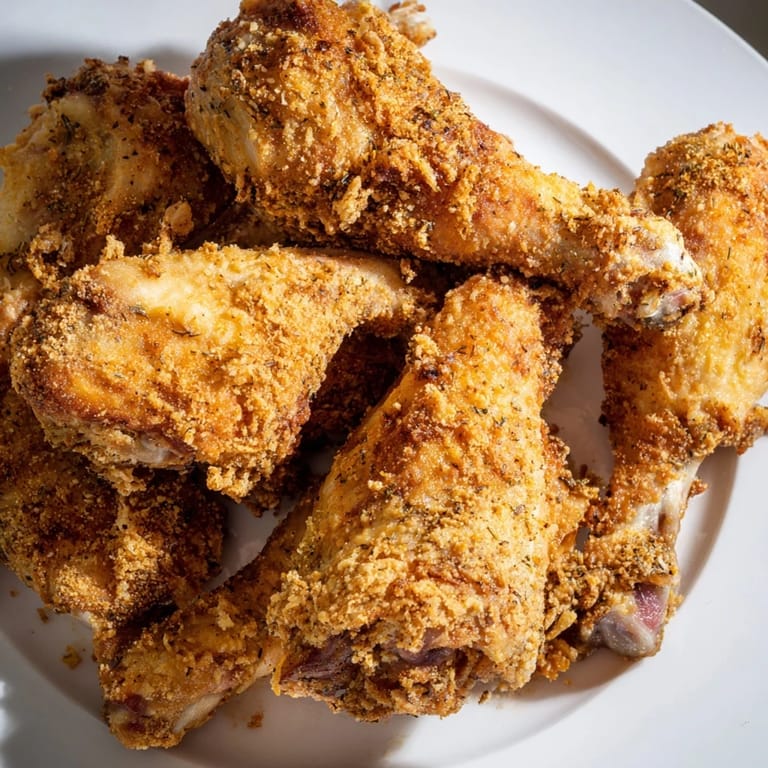
Save There's something about the sound of chicken hitting hot oil that makes everything feel right in the kitchen. My grandmother used to fry chicken on Sunday afternoons, and I'd hover near the stove just to catch that golden-brown moment when the crust formed. Years later, I realized it wasn't magic—it was buttermilk, patience, and knowing exactly when to flip. This recipe captures that balance between crispy exterior and tender meat that makes fried chicken worth the wait.
I made this for a backyard dinner with friends who claimed they preferred baked chicken, and watching their faces when they bit into the crackling crust was worth every oil splatter on my arms. One person went back for thirds and stopped mid-chew, laughing at themselves. That's when I knew the recipe had crossed from good to dangerous.
Ingredients
- 1.2 kg chicken pieces (drumsticks, thighs, assorted): Skin-on is non-negotiable—it protects the meat and fries up gloriously golden.
- 240 ml buttermilk: This isn't just a marinade ingredient; it's your secret weapon for tender, juicy chicken that doesn't dry out.
- Salt, black pepper, paprika, cayenne pepper: The marinade base that flavors the meat from the inside.
- 240 g all-purpose flour: Combined with the spices below, this creates the magic crust.
- Garlic powder, onion powder, dried thyme, smoked paprika: These transform plain flour into a seasoning coat with actual depth.
- 1 liter vegetable oil: Use oil with a high smoke point—vegetable, canola, or peanut oil all work, and the temperature matters as much as the amount.
Tired of Takeout? 🥡
Get 10 meals you can make faster than delivery arrives. Seriously.
One email. No spam. Unsubscribe anytime.
Instructions
- Marinate the chicken:
- Combine buttermilk with salt, pepper, paprika, and cayenne in a bowl, then coat the chicken pieces thoroughly. Cover and refrigerate for at least 2 hours, though overnight is when the magic really happens and the buttermilk works its tenderizing magic.
- Build your seasoned flour:
- Mix flour, garlic powder, onion powder, thyme, smoked paprika, salt, and pepper in a separate bowl. Stir it well so the seasonings distribute evenly—you want every piece of chicken to taste seasoned, not just the exterior.
- Dredge with intention:
- Remove chicken from buttermilk, letting excess drip off, then press each piece into the flour mixture until completely coated. Don't be shy—a thick, even coat is what becomes that crispy shell.
- Let the coating set:
- Place coated chicken on a wire rack for 10 minutes before frying. This resting period helps the flour adhere properly so it doesn't fall off in the oil.
- Heat the oil properly:
- Use a thermometer to bring the oil to 175°C (350°F). Too cold and the chicken absorbs oil instead of frying, too hot and the outside burns before the inside cooks through.
- Fry in batches:
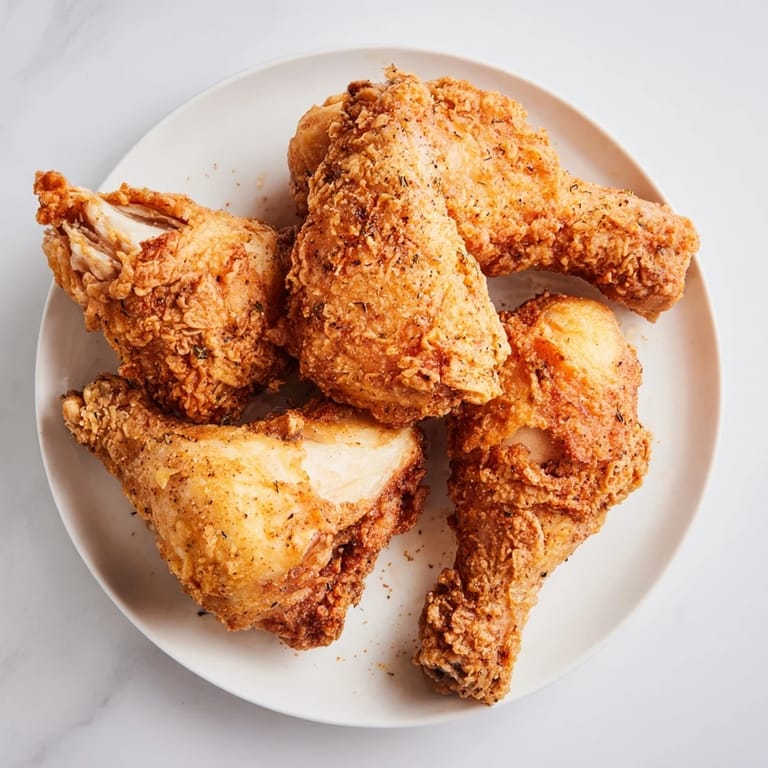
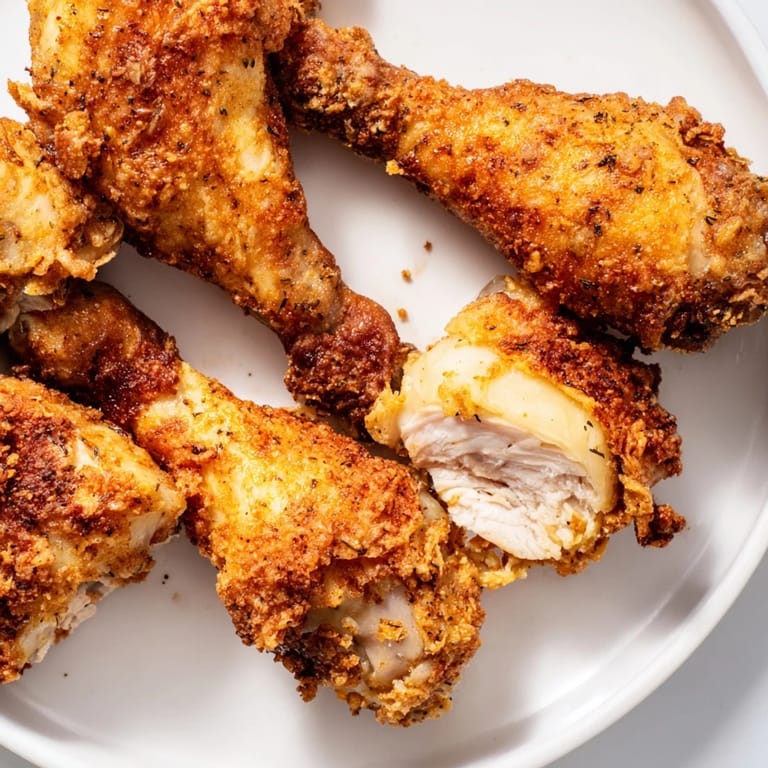
- Work in batches so you don't crowd the pan—overcrowding drops the oil temperature and leaves you with soggy chicken. Fry for 12–15 minutes, turning occasionally, until golden brown and the internal temperature reaches 75°C (165°F).
- Drain and rest:
- Transfer chicken to a wire rack or paper towels to drain. The 5-minute rest period lets the exterior stay crispy instead of steaming itself soggy.
 Save
Save My neighbor knocked on the kitchen door while I was frying and stood there in awe, watching the color deepen. He'd never seen fried chicken made at home before, always assumed it required restaurant equipment. When he took a bite, he got quiet—the kind of quiet that means the food is speaking for itself.
The Double-Dip Secret
If you want the kind of crust that shatters when you bite into it, here's what changed everything for me: after the first flour coating, dip the chicken back into buttermilk and then flour one more time. It sounds excessive, but that second layer creates depth and crunch that single-dipped chicken can't match. The first coating seals in moisture, and the second one becomes that audible, glorious crust.
Oil Management and Safety
Hot oil demands respect more than fear. Keep a splatter screen handy, never leave the stove unattended, and have a fire extinguisher nearby just in case. Reuse oil by straining it through cheesecloth after it cools—good oil can handle 2-3 batches before the flavor deteriorates. One thing I learned: if anything ever ignites, turn off the heat and cover the pot; water makes it worse.
Serving and Pairing
Fried chicken doesn't need much—it's complete on its own—but the right sides make a meal. Coleslaw cuts through the richness with vinegary crunch, mashed potatoes soak up the warm comfort, and hot sauce adds a final kick if you're that kind of person. Cold fried chicken is also unforgettable the next day, which says something about how well this recipe holds up.
- Eat it hot or room temperature, but never straight from the refrigerator.
- Store leftovers in an airtight container for up to 3 days, and reheat gently in a 160°C oven.
- Make extra—it disappears faster than you'd expect.
 Save
Save Good fried chicken is one of those rare dishes that tastes like home, no matter whose kitchen it comes from. Once you master this recipe, you'll understand why people have strong opinions about it.
Recipe FAQs
- → How do I achieve extra crispy chicken?
Double-dipping the chicken by coating it, dipping again in buttermilk, then flour creates a thicker crust and extra crunch.
- → What's the ideal frying temperature?
Maintaining oil at 175°C (350°F) ensures even cooking and a golden, crispy exterior without greasiness.
- → Can I use boneless chicken parts?
Yes, but reduce frying time to avoid overcooking since boneless pieces cook faster than bone-in.
- → How long should the chicken marinate?
Marinate at least 2 hours, preferably overnight, for the buttermilk and spices to tenderize and flavor the meat deeply.
- → What sides complement this fried chicken?
Classic sides include coleslaw, mashed potatoes, or a spicy hot sauce for balance and enhanced flavor.