 Save
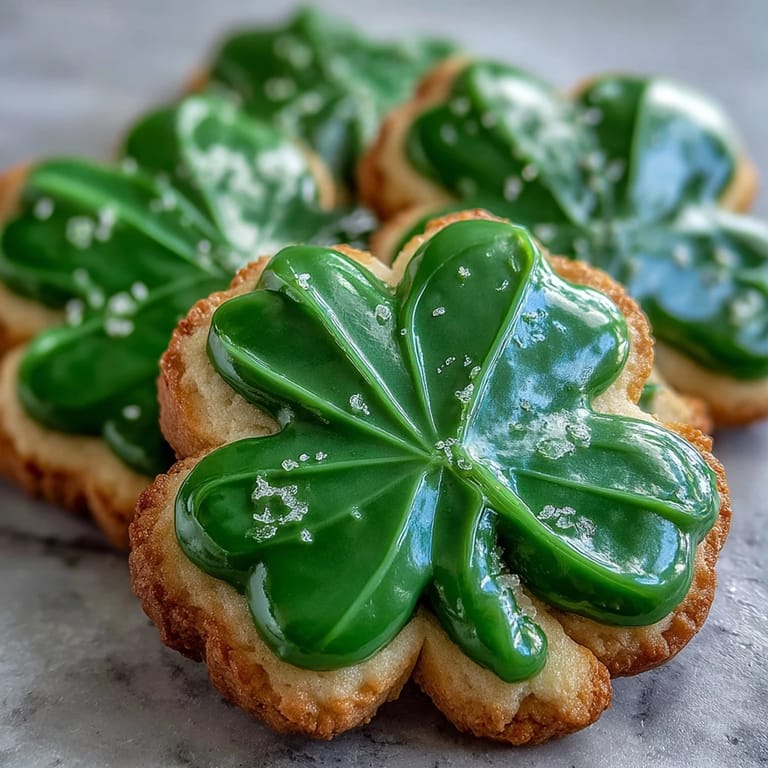
Save My kitchen smelled like butter and vanilla the morning my daughter announced she was bringing treats to her classroom St. Patrick's Day party, and these shamrock cookies seemed like the obvious choice. There's something about the combination of soft, buttery dough and that glossy green icing that transforms a simple sugar cookie into something that feels celebratory without trying too hard. I'd made royal icing before with mixed results, but this time I decided to slow down and actually pay attention to the technique. The whole process—from rolling out the dough to piping those delicate shamrock outlines—became a quiet kind of meditation, the kind where your hands know what to do before your brain catches up.
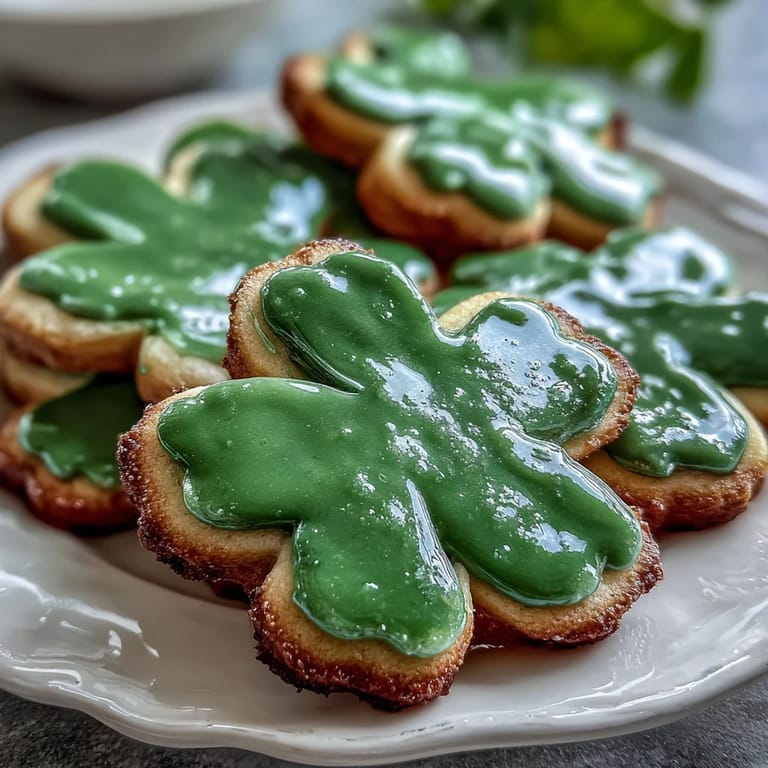
I watched my daughter arrange these cookies on a plate with such care, studying each one like she was curating an art gallery, and I realized this recipe had accidentally given us more than dessert—it had given us an afternoon of togetherness disguised as cooking. She picked out which ones were her "best work," and we laughed at the few that came out a little lopsided, their shamrocks tilted like they'd had a glass of green milk. That's when I knew this recipe was worth keeping.
Ingredients
- All-purpose flour (2 1/2 cups): The foundation of your dough—sifting it isn't strictly necessary here since we're whisking, but it does eliminate any lumps and ensures even distribution of the baking powder.
- Baking powder (1/2 teaspoon): Just enough to give the cookies a barely-there lift so they're tender without being cakey.
- Salt (1/4 teaspoon): This small amount brings out the vanilla and butter flavors in ways you won't consciously notice but absolutely will miss if you skip it.
- Unsalted butter (3/4 cup): Use good butter that's been sitting at room temperature for at least 30 minutes—cold butter won't cream properly with the sugar, and you'll end up with dense cookies instead of tender ones.
- Granulated sugar (1 cup): The creaming step matters more here than in some recipes, so don't rush those 2-3 minutes of beating.
- Egg (1 large): Room temperature is actually important for once—a cold egg can seize up the creamed mixture and make your dough grainy.
- Vanilla extract (2 teaspoons) and almond extract (1/2 teaspoon): The almond is optional but worth trying at least once; it adds a haunting undertone that people taste but can't quite name.
- Powdered sugar (3 cups): Must be sifted for royal icing, otherwise you're beating lumps against your piping bag for an hour.
- Egg whites (2 large) or meringue powder (4 tablespoons): If you're nervous about raw eggs, meringue powder is your answer and honestly makes a more stable icing anyway.
- Green gel food coloring: Gel coloring is non-negotiable here—liquid will thin your icing and paste will seize it up.
Tired of Takeout? 🥡
Get 10 meals you can make faster than delivery arrives. Seriously.
One email. No spam. Unsubscribe anytime.
Instructions
- Whisk your dry ingredients:
- In a medium bowl, combine flour, baking powder, and salt, whisking them together until they're evenly distributed. This step prevents the baking powder from creating little pockets of leavening that make some cookies puffy and others flat.
- Cream butter and sugar into clouds:
- Beat the softened butter with granulated sugar for 2 to 3 minutes until the mixture is noticeably lighter in color and fluffy—this is where the texture of your cookies actually gets decided. You should be able to see slight peaks forming when you lift the beaters.
- Bring the dough together:
- Add the egg and both extracts, mixing until the wet ingredients are fully combined and the mixture looks cohesive. Gradually add your dry ingredients and mix just until you don't see any white streaks of flour—overmixing develops gluten, which makes cookies tough instead of tender.
- Rest and chill the dough:
- Divide the dough in half, shape each into a disk about an inch thick, wrap in plastic, and refrigerate for at least an hour. This resting time relaxes the gluten and prevents your cookies from spreading like pancakes in the oven.
- Roll, cut, and prepare for baking:
- Preheat your oven to 350°F and line baking sheets with parchment paper. On a lightly floured surface, roll one disk of dough to about 1/4-inch thickness—use your hands to feel the thickness rather than eyeballing it, as consistency matters. Cut out shamrock shapes and arrange them on your prepared sheets.
- Bake until just golden:
- Bake for 9 to 11 minutes, watching carefully for that moment when the edges just begin to turn golden while the centers still look barely set. Remove from oven and let them sit on the baking sheet for 5 minutes to firm up, then transfer to a wire rack to cool completely.
- Make your royal icing:
- Beat powdered sugar with egg whites (or meringue powder mixed with water) and vanilla or lemon juice for about 5 minutes until stiff peaks form and the icing is glossy. If you're using egg whites, make sure your bowl is completely grease-free or the whites won't whip properly.
- Color and pipe with confidence:
- Divide the white icing into bowls and add green gel coloring drop by drop, mixing thoroughly—gel coloring is concentrated, so you need less than you think. Transfer icing to piping bags fitted with small round tips and outline each cookie first, then flood the center with a slightly thinner consistency of the same icing.
- Let the magic set:
- Allow the icing to dry completely for at least an hour before serving or stacking the cookies. This is the hardest part because they look so pretty you'll want to touch them immediately, but trust me on this.
 Save
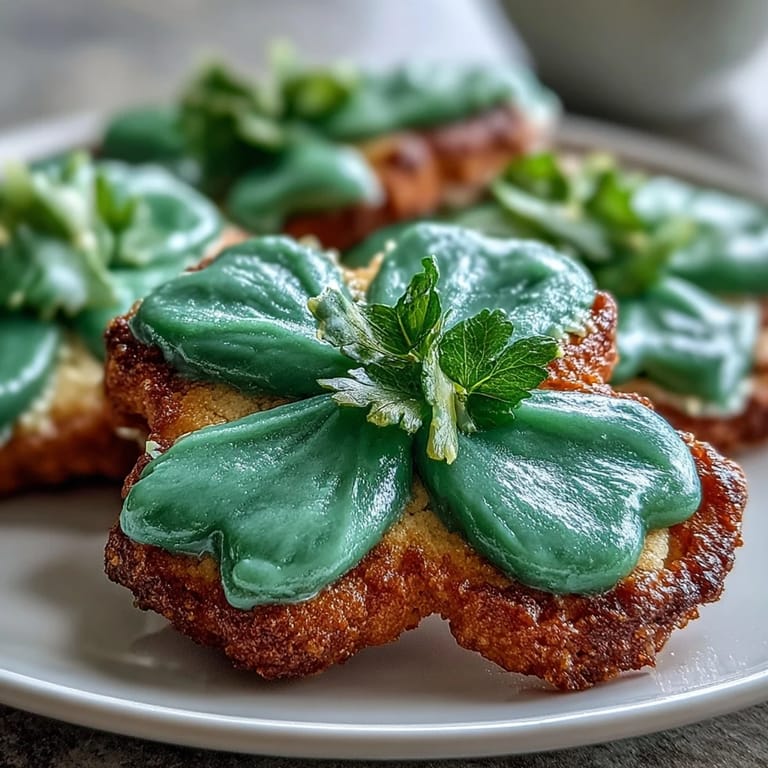
Save There's a particular kind of satisfaction that comes from decorating cookies that's different from other kinds of baking, maybe because you get immediate visual feedback and can fix things as you go. My daughter's shamrocks weren't perfectly symmetrical, but they had character and joy in them, which turned out to be much more important than precision.
The Science of Creaming
When you beat butter and sugar together, you're incorporating tiny air bubbles into the butter, and those bubbles are what give these cookies their tender crumb. I used to think I was done creaming when the mixture looked smooth, but it took a few batches of dense cookies before I realized the mixture should actually look noticeably lighter and fluffier after a couple minutes. The color should shift from pale yellow toward almost white, and when you lift the beaters, the mixture should cling to them in soft peaks.
Royal Icing Troubleshooting
Royal icing has a small window where it's the perfect consistency, and I learned this the hard way by making it either too thin or too thick about five times before I got it right. The icing should hold stiff peaks when you lift the beaters, but it should also be pipeable without feeling like you're forcing concrete through the bag. If you've added color and it seems too thick, add water literally one drop at a time; if it's too thin and won't hold its shape, add a bit more sifted powdered sugar.
Storage and Make-Ahead Strategy
These cookies actually improve slightly after a day or two as the flavors meld together, which makes them ideal for baking a few days before an event. Undecorated cookies can be stored in an airtight container at room temperature for up to a week, or frozen for up to three months; decorated cookies stay fresh for about five days if kept away from humidity. Royal icing can be made and kept covered at room temperature for up to two days, though you should give it a quick stir before using it again because the mixture can separate slightly as it sits.
- Line your storage container with parchment paper so the icing doesn't stick to the bottom.
- If your house is humid, store the decorated cookies in an airtight container with a silica packet to keep the icing from getting tacky.
- Decorated cookies freeze beautifully in a single layer before transferring to a freezer bag, which solves the problem of making them weeks in advance.
 Save
Save These cookies carry more than just sugar and butter; they carry the memory of an afternoon spent decorating with someone you love. That's the recipe I keep coming back to.
Recipe FAQs
- → How do I get the royal icing smooth and glossy?
Beat the powdered sugar and egg whites until stiff peaks form, ensuring the mixture is thick enough to hold shape but smooth enough to pipe easily. Adding lemon juice or vanilla enhances flavor and shine.
- → What’s the best thickness for rolling out the dough?
Roll the dough to about 1/4-inch thickness to ensure even baking and sturdy cookies that hold their shamrock shape well.
- → Can I make the dough ahead of time?
Yes, chill the shaped dough discs wrapped in plastic for at least an hour or up to 24 hours before rolling and baking.
- → How do I prevent the cookies from spreading too much?
Be sure to chill the dough thoroughly before cutting and avoid using overly soft butter. Also, avoid overmixing once dry ingredients are added.
- → What alternatives exist for egg whites in the icing?
Use meringue powder mixed with water as a substitute for fresh egg whites to maintain the classic royal icing texture and stability.
- → Is it necessary to cool cookies before icing?
Allow cookies to cool completely to prevent the icing from melting or becoming misshapen.