 Save
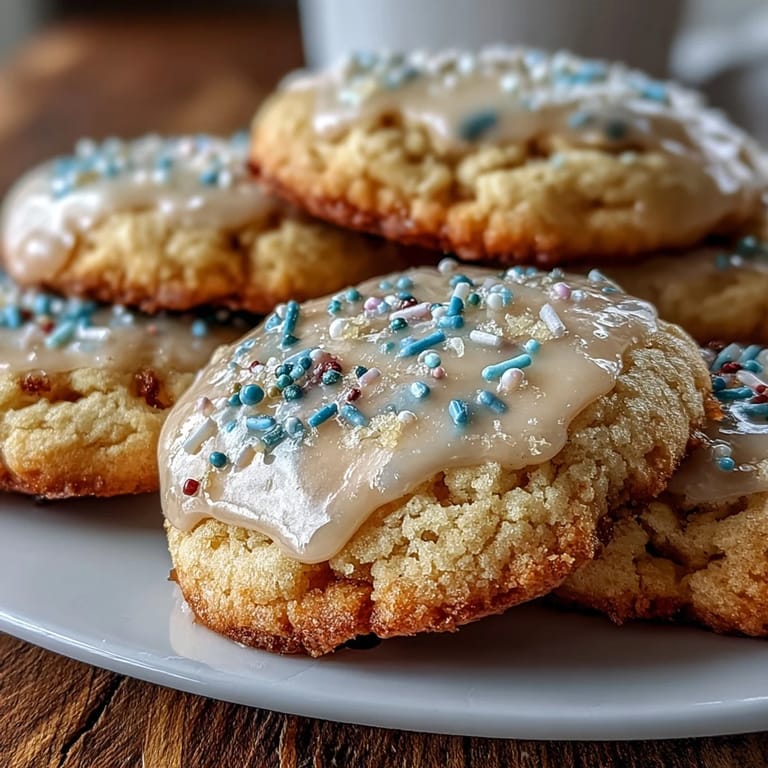
Save The first time I baked these lemon sugar cookies, the kitchen was flooded with sunlight and the sharp citrus perfume immediately felt like spring itself. There was no grand occasion, just a craving for something cheerful on a gray afternoon. As I zested the lemons, I was surprised how their oils lingered on my fingertips, making everything I touched feel fresher. My playlist was all over the place, but the mixing bowl drowned out the speakers with its rhythmic clatter. It was one of those moments when baking just felt intuitive—no stress, just the promise of bright cookies on the horizon.
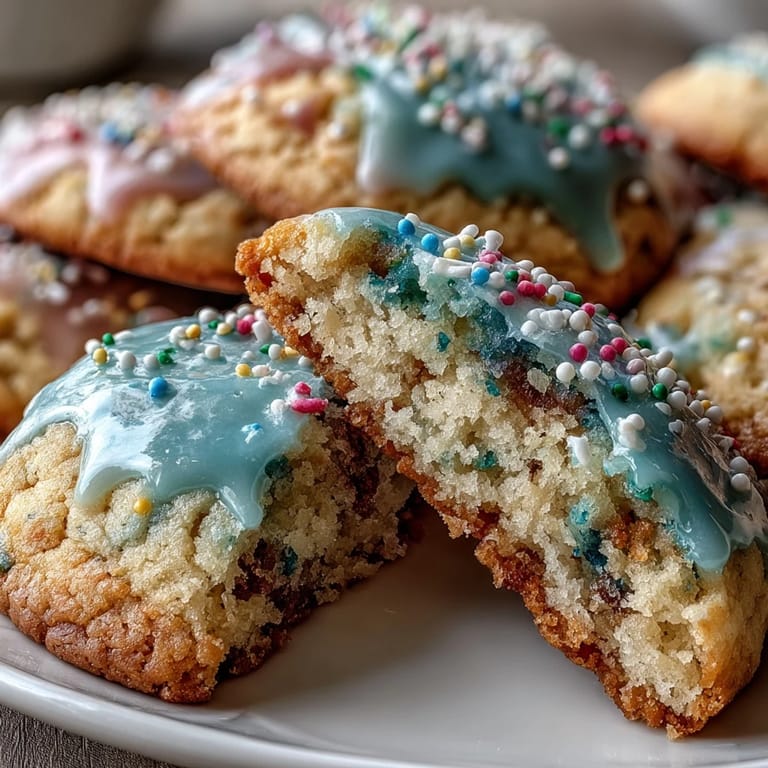
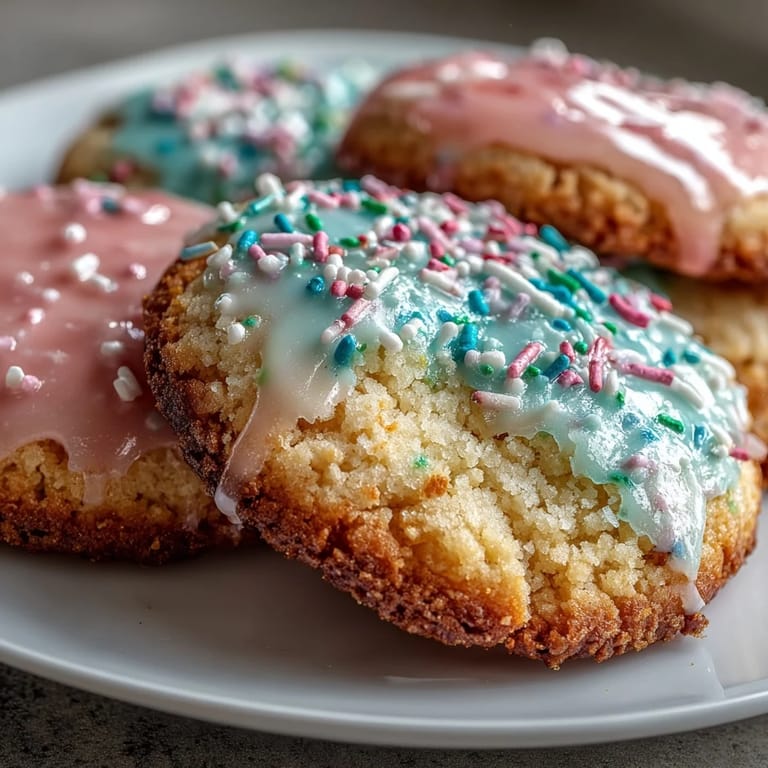
I remember making these cookies for a spring picnic, fussing over drizzle patterns and glaze colors while my friend confidently scattered edible flowers—her creativity made me realize these could be so much more than basic sugar cookies. When the box opened on the blanket, everyone reached for the prettiest ones first, but even the slightly wonky ones disappeared just as fast. It was a reminder that these cookies are as much about joy as they are flavor. That afternoon, laughter seemed somehow brighter, and every lemony bite brought out conversations that lingered longer than the glaze. The cookies weren't perfect, but neither was the picnic—and both ended up unforgettable.
Ingredients
- All-purpose flour: I always fluff the flour with a fork before measuring—it keeps the cookies tender and light.
- Baking powder: Just a pinch here gives the cookies a gentle lift without making them cakey.
- Fine sea salt: This brings out the lemon flavor and balances the sweetness beautifully.
- Unsalted butter (softened): Using really soft butter helps the dough come together and creates that melt-in-your-mouth texture.
- Granulated sugar: Don't skimp on the mixing—creaming the sugar and butter until really fluffy makes all the difference.
- Egg: One large egg binds everything neatly—room temperature is best for even mixing.
- Fresh lemon juice: I squeeze the lemon right before using it so every drop tastes super vivid.
- Lemon zest: Finely grate so you get aromatic oil, not bitter pith—this is where the flavor pops.
- Vanilla extract: Pure vanilla gives an undertone that softens the lemon’s sharpness just enough.
- Powdered sugar (sifted): Sifting means the glaze is silky-smooth without lumps.
- Milk (whole or 2%): I use milk for a creamy glaze; you can tweak to get the right consistency.
- Food coloring (pastel pink, blue, yellow, or green): Just a drop makes the glaze whimsical, so go easy and build up color.
Tired of Takeout? 🥡
Get 10 meals you can make faster than delivery arrives. Seriously.
One email. No spam. Unsubscribe anytime.
Instructions
- Get the oven ready:
- Turn the dial to 350°F and line two baking sheets with parchment; while the oven preheats, the kitchen warms up and feels cozy.
- Mix dry ingredients:
- In a medium bowl, whisk flour, baking powder, and salt together—listen for the gentle swish and watch the powdery mountain take shape.
- Cream butter and sugar:
- Beat the softened butter and granulated sugar until pale and fluffy—when you rub a little between your fingers, it should feel airy, not gritty.
- Add wet ingredients:
- Stir in the egg, lemon juice, zest, and vanilla; the aroma is instantly bright and inviting, and the dough turns silky with each addition.
- Combine everything:
- Gradually fold the dry mix into the wet, just until you see no streaks—don’t overmix or the cookies will lose their delicate crumb.
- Shape and flatten:
- Scoop tablespoon-sized balls and space them out—flatten gently with your palm or the bottom of a glass, feeling the dough yield with a soft squish.
- Bake to golden:
- Slide trays in for 10–12 minutes; the cookies will puff and the edges should just barely turn golden before you pull them out.
- Cool down:
- Let cookies rest for 5 minutes on the tray, then finish cooling on a wire rack—I always sneak a warm one for quality control.
- Make the glaze:
- Whisk powdered sugar, milk, and lemon juice until glossy; adjust milk for a ribbon-like consistency that drips but isn’t runny.
- Tint pastel colors:
- Split the glaze into bowls and add drops of food coloring—stir until the color is dreamy and soft.
- Decorate:
- Dip or drizzle glaze onto cooled cookies; if you’re feeling fancy, scatter sprinkles or edible flowers and let everything set for 20 minutes.
 Save
Save There was an impromptu afternoon when my neighbor dropped by, drawn in by the lemony scent wafting through the hallway. We ended up painting cookies with glaze side by side, chatting about gardens and new recipes—suddenly, these treats weren't just cookies, but an easy excuse to spend time together. Sometimes food is what draws people in, but it’s the laughter around the kitchen table that sticks with you. That day, the cookies felt like part of something bigger than dessert. Even the mess left behind was proof of a shared moment.
How I Personalize the Glaze
Some days, I’ll add a splash more lemon juice to the glaze for extra tang, which surprises anyone expecting just sweet icing. I keep the colors light because too much food coloring can overpower the delicate vibe of spring. If I have edible flowers or pastel sprinkles, I toss them on as a finishing touch — they make the cookies sparkle and taste even more festive.
Common Mistakes and How to Avoid Them
Overmixing the dough is the quickest way to lose that tender crumb — keep your hand gentle and stop as soon as everything comes together. It’s easy to forget to properly cool the cookies before glazing, but patience pays off with a smooth finish every time. If you overshoot the milk and the glaze gets too thin, just sift in a little extra powdered sugar until you hit the sweet spot.
Serving and Storage Secrets
The pastel glaze sets better if you leave the cookies on a wire rack for at least twenty minutes before stacking. Store extras in a single layer or between sheets of parchment to avoid stickiness. I love packing them up for gifts — they look beautiful and stay fresh for days.
- Wrap airtight to preserve the vibrant glaze.
- Swap in zestier lemon if you want a sharper flavor.
- A sprinkle of salt on top adds a surprising finishing touch.
 Save
Save These cookies bring a sense of spring renewal every time I bake them, and sharing them always leads to unexpected smiles. I hope they brighten your kitchen as much as mine.
Recipe FAQs
- → How do I achieve a soft, tender cookie texture?
Use softened butter and avoid overmixing the dough to keep the cookies light and tender. Flatten dough balls slightly for even baking.
- → Can I enhance the lemon flavor?
For a brighter lemon taste, add extra lemon zest or a few drops of lemon extract to the glaze mixture.
- → How should I color the glaze?
Divide the glaze into bowls and add a drop of pastel food coloring for spring-inspired hues. Mix gently to avoid overblending.
- → How do I store the cookies?
Keep cookies in an airtight container at room temperature for up to four days to maintain freshness and softness.
- → Can I decorate the cookies further?
Add pastel sprinkles or edible flowers to the glazed cookies for a festive touch suited to spring celebrations.
- → What allergens should I be aware of?
These cookies contain wheat, egg, and dairy. Always check ingredient labels for any possible allergens.